
Using OneDrive to Request Files
You can use your OneDrive to request files (especially LARGE files) from anyone with an email address. They do not need to have a Microsoft account. This method also prevents them from seeing any other files that you may have in your upload folder. You can request files into any OneDrive folder. In this example, we are going to create a new folder for this purpose.
You will be given a link that you can email the person you need files from, or the system can email them for you. The recipient can use this link to upload one file or multiple files and they can use the link over and over again until you disable it. You can send the link to multiple people also. They will be prompted for their names so you know who uploaded what. You will even get an email notification when they upload the file(s).
These instructions may seem long because we are showing you the entire process. It is really very easy to do with just the few steps below.
Let's get started...
- Click here to open your OneDrive or access it from the cloud icon in your task tray (right click then select "View Online"), or you can even access it in Teams.
- If you access it in Teams, from the FILES icon on the right, you then need to click on OneDrive under Cloud Storage, and then select the "Open in OneDrive" option.
- Click on [ + New ▽ ] and then select "Folder" to create a new folder
- Give it a name such as "FileDrop" for example.
- Right click on your new folder and select "Request files"
- Enter a name for your file request, this is what recipients will actually see. You can use the same name as the folder, "FileDrop" in this example, or something more descriptive if you choose.
- You will then be given a special link (see example below) that you can copy-and-paste into your own email, or you can enter in the email address of a person (or persons) and the system will send them an email.
- That's it. When they upload files you will get an email alert.
Example

TIP!!!
To ensure that your email goes through, you may simply want to use the [Copy link] button to then paste it into your own email that you compose in Outlook. Just paste the link and type in whatever you want in the body of the email and send it to the people who need it. For example:

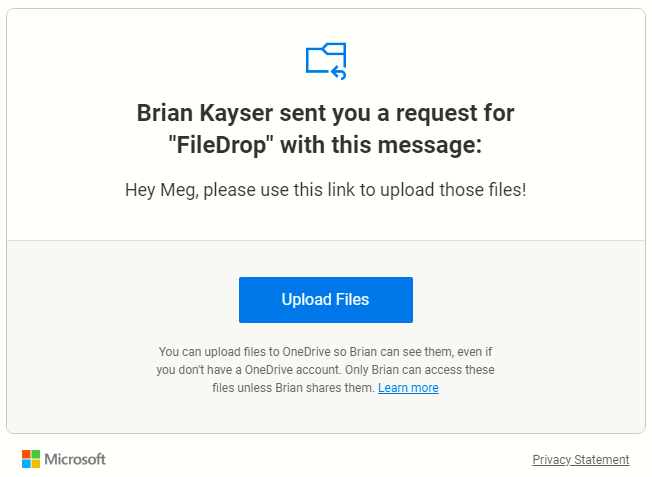
A system generated email may seem "spammy" and may get blocked, or the recipient may be suspicious of it. Here is an example of what the system generated email will look like. If you do use this option, just make sure the person you are sending it to is expecting it and knows to keep an eye out for it.
 What does the recipient see?
 What does the recipient see?
When the email recipient clicks on the link you sent them, they will be taken to a web browser screen similar to this one below.
 When they click [Select files] the typical local PC file explorer will pop-up and they can select the file (or files) they wish to upload/share. The screen below is an example of a single file upload.
 Once uploaded, they will get a confirmation.

What do you see?
You will get an email informing you that they uploaded files. Please keep in mind that this email trigger is NOT instantaneous. It may take up to 30 minutes before you get the email; however the files will be in your folder as soon as they are uploaded.
File names will be changed slightly to include the uploaders name. This is so that if multiple people use the link, you know who uploaded what...
Example of email notification YOU will receive. Notice the name appended to the beginning.

Now go to your OneDrive and see the file. If the file happens to be a video file (like this one) when you click it in a browser, it will play the video.

What if you want to disable the link?
- Right click on the folder, FileDrop in this example.
- Click on "Manage Access"
- In the Right Pain you should see the link, click the three dots (more options)
- Now simply click the X next to the link.
- The link will no longer work.